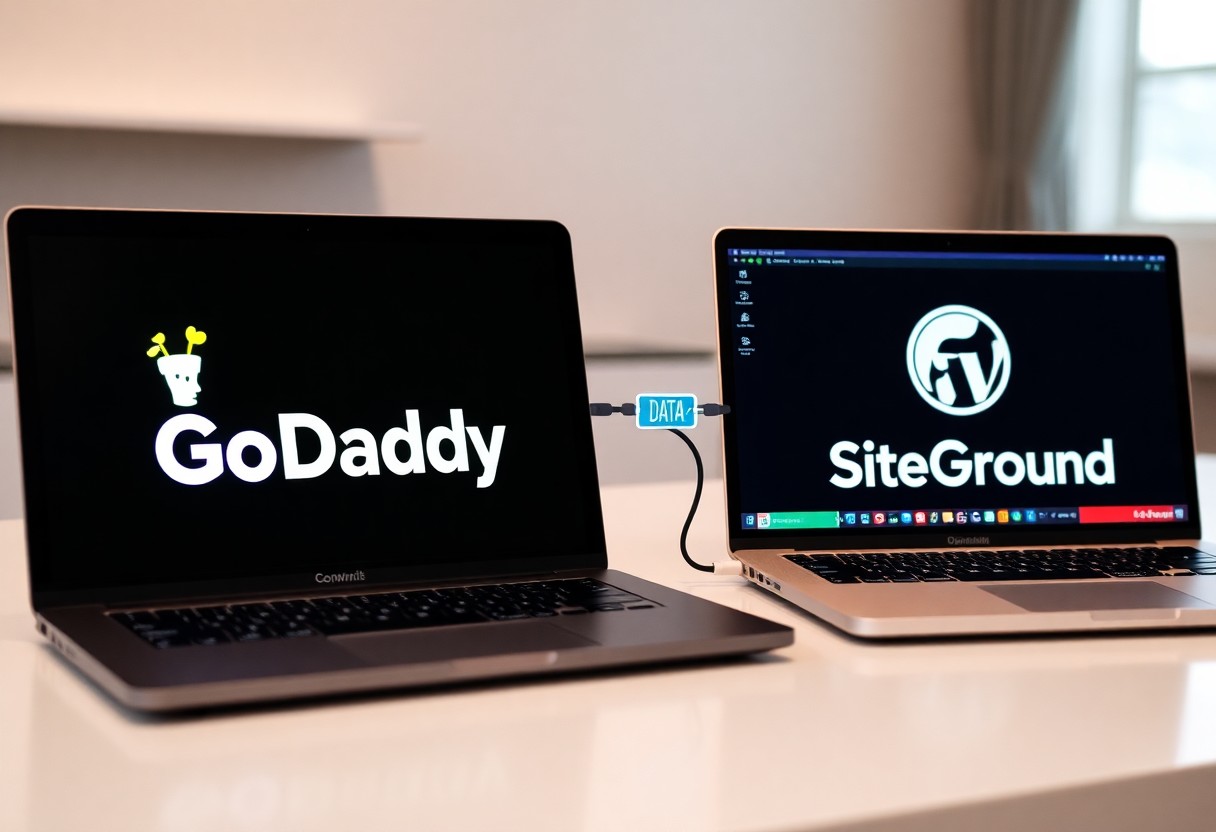
Most website owners seek faster loading times and better support, making the migration from GoDaddy to SiteGround an appealing option for your WordPress site. This guide will walk you through the steps, ensuring a smooth transition and minimizing the risk of downtime. You’ll learn how to properly back up your data, set up your new hosting environment, and transfer your files securely. By following these straightforward instructions, you can confidently enhance your site’s performance while avoiding potential pitfalls that could affect your online presence.
Key Takeaways:
- Backup your WordPress site on GoDaddy using a plugin or through cPanel before initiating the migration.
- Set up your SiteGround account and choose the appropriate hosting plan that fits your needs.
- Use SiteGround’s built-in migration plugin or the SiteGround Migrator tool to facilitate the transfer of your website data.
- Manually move your website by exporting your database from GoDaddy and importing it to SiteGround if you prefer a hands-on approach.
- Update the DNS settings to point to SiteGround once the migration is complete for users to access your site from the new hosting.
- Test your website to ensure all functionalities work correctly after the migration before canceling your GoDaddy account.
- Optimize your site’s settings and performance on SiteGround, taking advantage of their caching and security features.
Factors to Consider Before Migration
Before initiateing on your migration journey, it’s crucial to evaluate several factors to ensure a smooth transition. Consider the following:
- Current hosting performance
- Site security
- Downtime expectations
- Cost implications
- Technical requirements
Knowing these elements will help you make informed decisions that lead to a successful WordPress migration.
Site Backup Importance
Even though you’re excited about the move, backing up your entire site is paramount. This means creating a complete backup of your database and files to avoid data loss during the transition. A reliable backup ensures that if something goes awry during the migration, you can restore your site to its previous state without hassle.
Compatibility of Themes and Plugins
Clearly, ensuring that your themes and plugins are compatible with your new hosting environment is a top priority. A seamless migration means your site’s functionality should remain intact.
A thorough check of your themes and plugins is crucial since some may rely on specific server configurations. If you use premium themes or plugins, ensure they are compatible with SiteGround’s platform. Additionally, some may require manual updates post-migration, which can lead to unintended issues if overlooked. Prioritize testing any crucial aspects of your site after migration to guarantee optimal functionality and performance. Investing time in this will save you from experiencing frustrating downtime or lost features.
Pre-Migration Steps
Some necessary steps must be taken before migrating your WordPress site from GoDaddy to SiteGround. Proper preparation will ensure a smooth transition, minimize downtime, and help you avoid data loss. By following these initial steps, you can pave the way for a successful migration process.
Preparing Your GoDaddy Account
There’s a need to gather important information from your current GoDaddy account, including your hosting credentials and database details. Ensure that you back up your entire website, including files and databases, for easy restoration if anything goes awry during the transfer.
Setting Up Your SiteGround Account
There’s no need to worry when setting up your SiteGround account, as it offers a user-friendly interface and efficient customer support. After signing up, you’ll receive your new account credentials via email, which you need for the migration process.
For instance, once you access your SiteGround dashboard, you can utilize their WordPress migration plugin to ease the transfer. Make sure to choose the appropriate plan that meets your website’s needs, as it can impact performance and scalability. Additionally, consider configuring SSL certificates during the setup to ensure your site remains secure post-migration. Following these guidelines will help streamline the entire process, enhancing the overall experience when moving your site.
Migration Process Overview
Many users find moving their WordPress site from GoDaddy to SiteGround a straightforward task when following the right steps. The migration process involves either manually transferring files and databases or utilizing SiteGround’s automated tools. Regardless of your chosen method, being aware of each step will ensure a smooth transition and minimal downtime for your website.
Manual Migration Steps
Process involves several key actions: backing up your existing website, downloading your files via FTP, exporting your database, and then uploading these components to your new SiteGround account. After this, you’ll need to configure the database and update DNS settings to complete the transfer.
Using SiteGround’s Migrator Tool
You can simplify the migration by using SiteGround’s Migrator Tool, an option designed to streamline the process for you. This plugin automatically transfers your site files and database with minimal effort on your part.
Understanding the Migrator Tool means realizing that it operates efficiently, especially for those who may not be tech-savvy. By entering your site’s URL and access details, the tool will manage the rest, saving you time and reducing errors. However, ensure you back up your files first; while the tool is reliable, unforeseen issues can arise during the transfer. Utilizing this feature can lead to a swift, organized migration experience.

Post-Migration Tips
Now that you’ve successfully migrated your WordPress site to SiteGround, it’s necessary to fine-tune it for optimal performance. Consider the following tips:
- Check your site’s speed and performance
- Reinstall any necessary plugins
- Review your website’s security settings
- Optimize your database
The transition is complete, but ongoing maintenance is key to keeping your site running smoothly.
Testing Website Functionality
Any issues can arise after migration, so it’s important to thoroughly test your website functionality. Navigate through your site, checking all links, forms, and any special features you use to ensure everything is working correctly. This step will help you catch and resolve potential problems early.
Updating DNS Settings
Clearly, updating your DNS settings is fundamental to directing your domain to the new hosting server. You must update the nameservers provided by SiteGround in your domain registrar’s settings, which can take some time to propagate globally, usually between a few hours to 48 hours.
Tips for updating your DNS settings include: always double-check your nameserver entries for accuracy, as incorrect entries can lead to website downtime. If you’re unsure, it’s wise to consult your domain registrar’s support for guidance. Allow sufficient propagation time – during this period, your site may intermittently show the old or new hosting provider. This adjustment won’t affect your SEO rankings, but ensuring a smooth transition can enhance the overall user experience.
Common Issues and Troubleshooting
To ensure a smooth transition from GoDaddy to SiteGround, you may encounter some common issues. These can include problems with website functionality, broken links, or difficulty accessing your new hosting account. It’s important to systematically troubleshoot these issues by checking the configuration settings, ensuring your files and databases are correctly migrated, and allowing ample time for DNS propagation.
Error Messages and Solutions
Any error messages that appear after migration can be indicative of misconfigurations or incomplete transfers. You should thoroughly review the error messages and consult SiteGround’s support documentation or contact their customer service for tailored solutions to resolve the issues quickly.
Performance Optimization
Assuming your site has successfully migrated, it’s necessary to optimize its performance on SiteGround. Begin by utilizing their caching options, enabling HTTPS, and considering the implementation of a content delivery network (CDN) to enhance loading speeds.
Messages about site performance should not be ignored. You should regularly assess your website’s speed using tools like Google PageSpeed Insights. Address any slow-loading pages by optimizing images, minimizing CSS/JS files, and leveraging SiteGround’s SuperCacher. A well-optimized site will not only improve user experience but also positively impact your search engine rankings.

Best Practices for Future Migrations
After successfully migrating your WordPress site, it’s necessary to implement best practices for any future migrations. This will ensure that your website operates smoothly and that you avoid potential hiccups along the way. Following these practices will save you time and minimize downtime, allowing a seamless transition between hosting providers in the future.
Regular Backups
Any website owner should make regular backups a top priority. Regularly backing up your WordPress site guarantees that you have a secure version of your data in case anything goes wrong during a migration. Utilize plugins that automate backups to save you time and stress. This way, you can focus on your content while your backups run in the background.
Keeping WordPress Updated
You must keep your WordPress site updated to protect against vulnerabilities and ensure compatibility with plugins and themes. Regular updates to WordPress core, as well as your themes and plugins, will prevent conflicts and improve overall site performance.
Future updates to your WordPress installation are critical for maintaining security and functionality. Outdated software can expose your site to vulnerabilities that hackers may exploit. If you’re hesitant about updates, consider staging your site first. Test everything before applying changes to your live site, ensuring optimal performance without risking disruption to your users. Keeping your site updated not only protects it but also enhances user experience, ensuring that visitors appreciate your content without technical interruptions.
Summing up
Hence, migrating your WordPress site from GoDaddy to SiteGround involves careful planning and execution. By following the outlined steps—backing up your site, exporting your database, and configuring your new environment—you can ensure a smooth transition. Once your files and database are properly set up at SiteGround, it’s imperative to update your DNS settings to point to your new host. With attention to detail and a systematic approach, you can effectively complete the migration, enhancing your site’s performance and support. Your successful transfer will ultimately provide a better experience for you and your visitors.
FAQ
Q: What are the initial steps to take before migrating my WordPress site from GoDaddy to SiteGround?
A: Before starting the migration process, ensure you back up your website files and database from GoDaddy. You can use a plugin like UpdraftPlus or manually download your files using FTP and export your database via phpMyAdmin. Additionally, sign up for a hosting plan on SiteGround and set up your new account.
Q: How can I back up my WordPress database from GoDaddy?
A: To back up your database, log in to your GoDaddy account and navigate to the phpMyAdmin tool in your cPanel. Select your WordPress database, click on the “Export” tab, and choose the Quick export method. Click “Go” to download the database file to your computer, ensuring you keep it safe for the migration.
Q: What is the process to transfer files from GoDaddy to SiteGround?
A: To transfer your website files, connect to your GoDaddy hosting account through an FTP client like FileZilla. Download all the WordPress files from the public_html directory. Then, connect to your SiteGround account and upload these files to the public_html directory there. Make sure to maintain the same file structure during the transfer.
Q: How do I restore my database on SiteGround after the migration?
A: After uploading your files, log in to your SiteGround account and access the Site Tools. Navigate to the “Site” section and select “Databases.” Create a new database, database user, and password. After that, access phpMyAdmin on SiteGround, select the new database, click on the “Import” tab, and upload the database backup file downloaded from GoDaddy.
Q: How do I update the wp-config.php file after migration?
A: To update your wp-config.php file, locate it in the public_html directory on your SiteGround account. Open the file in a code editor and update the database name, database user, and password to reflect the new database credentials you created in SiteGround. Save the changes to secure the connection between your site and the database.
Q: What are the steps to point my domain from GoDaddy to SiteGround?
A: To point your domain, log in to your GoDaddy account and navigate to your domain settings. Update the nameservers to those provided by SiteGround. This information can be found in your SiteGround user area under “Websites” and then “Site Information.” Allow up to 48 hours for the DNS changes to propagate across the internet.
Q: How can I ensure that my WordPress site is functioning properly after the migration?
A: After completing the migration, check your WordPress site by visiting your domain. Test various functionalities like page loading, links, and forms to ensure everything is operating smoothly. Additionally, you may want to clear your browser cache and disable caching plugins during the initial tests. Monitor for any errors and troubleshoot as needed, ensuring all content has successfully migrated.